Are you interested in composting, but don’t know where to begin? I used to be in the same boat. Now, I absolutely love composting, and I want everyone to love it as much as I do. Whether you have an outdoor garden or participate in a community composting program, composting is a great way to reduce landfill waste and give back to the earth. Read the guide below to get started.
benefits of composting.
First, let’s talk about the benefits. Composting is…
- free! Whether you have indoor plants or a garden, you get to save money by making your own soil. When you invest a little time learning how to compost, it’s all yours for free!
- great for the environment. Food scraps and yard waste currently make up more than 30 percent of what we throw away. Composting keeps these materials out of landfills where they take up space and release methane, a potent greenhouse gas.
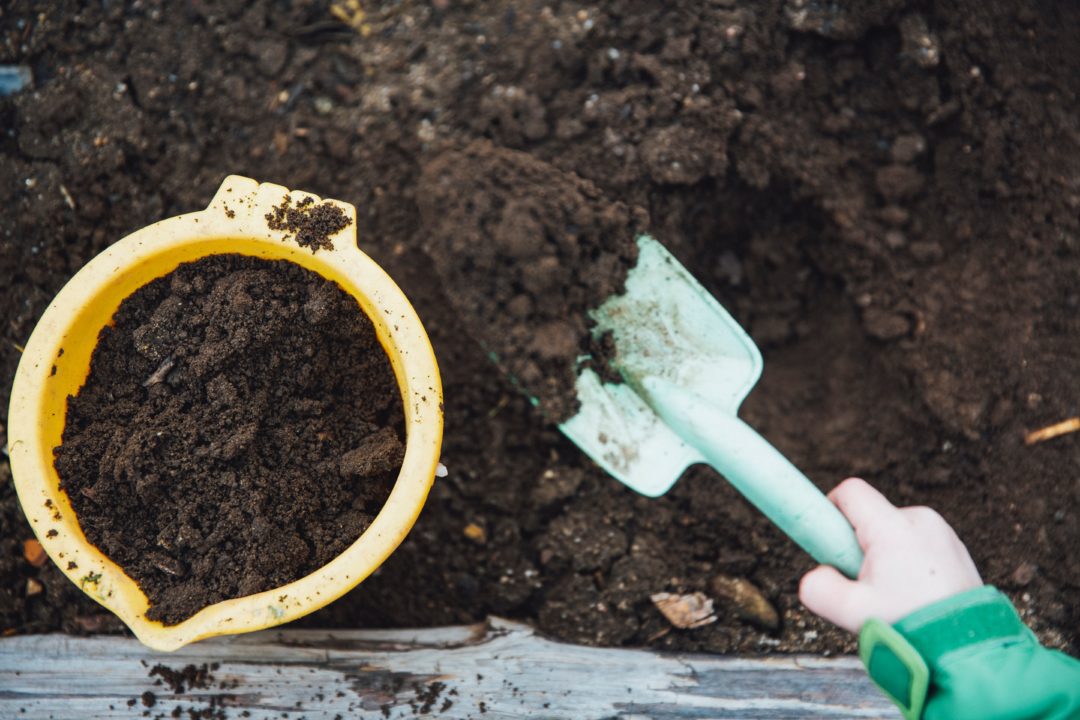
- fun for kids. We know that kids love getting dirty and getting curious. Send them on a mission to see what creatures have made their homes in your compost pile. It’s guaranteed to have all the makings of a good science project.
- reduces household trash. Instead of throwing leftovers in the trash or down the disposal, kitchen scraps can start decomposing right away in your compost. Super cool, right?
- is hard to mess up. Your garden plants may wither and die, but composting is pretty close to foolproof. You basically dump your organic matter and forget about it – until it’s time to harvest the results of your labor.
supplies + ingredients.
All composting requires three basic ingredients (think greens and browns):
- Browns – This includes materials like dead leaves, branches, and twigs.
- Greens – This includes materials such as grass clippings, vegetable waste, fruit scraps, and coffee grounds.
- Water – The right amount of water helps compost development.
- Air – The final ingredient for a successful compost.
Composting will also require these basic supplies:
- A pail for the kitchen to collect scraps.
- My favorite is this compostable pail from Bamboozle (yes, the actual pail is compostable).
- A bin or a spot in the yard for a pile.
- Compost bins now come in a variety of shapes and sizes to fit small or large spaces. You can purchase one from a garden center, or make your own. Bins can look like plastic storage tubs, wooden pallets, plastic garbage cans or even an empty wine barrel.
Your compost pile should have an equal amount of browns to greens. You should also alternate layers of organic materials of different-sized particles. The brown materials provide carbon for your compost, the greens provide nitrogen, and the water provides moisture to help break down the organic matter.
The natural processes active in your compost pile and create a lot of heat. This can pose a slim fire risk, so avoid positioning your compost pile near a shed, fences or buildings. Be sure you monitor it, especially during periods of warmer weather.
don’t have or want an outdoor compost pile?
No problem! A composting tumbler is a handy bin that you can turn by cranking the side handle around. You can purchase these tumblers from a garden supply shop or online (here’s an example). These tumblers can be especially helpful for people with limited space. They also tend not to smell or attract insects.
Many cities also have community composting programs now – and these only seem to be growing in popularity. We use Impact Earth in Rochester, New York, and all our scraps get composted into soil for local community gardens. We also get a bucket back each spring for our own home garden.
what’s the deal with worm composting?
I’m personally new to the concept of worm composting. But, everyone I know who does it loves it. Earthworms (red wigglers specifically) help to speed up the composting process in a worm composting bin. You can use a store-bought bin or do it yourself with a big Tupperware bin. Add kitchen scraps, green materials and brown materials. Then, allow the worms to digest the organic material as it passes through their bodies while they wiggle around. Wild, right?
If you have a compost pile in the yard, earthworms will usually find their way to it naturally.
get started!
Once you have your ingredients and supplies, you’re ready to start.
- Pick a spot to keep your kitchen pail. Mine is small and meant for the countertop, so it stays there. You can also keep it under the sink or in another out-of-the-way location near where you cook.
- Pick a spot for your pile or tumbler. Ideally, this will be close enough to the house that you’ll actually carry your pail of scraps out there every day.
- Start with your greens and browns. Mix together some fresh green material (ie. grass clippings, fruit or vegetable peelings, coffee grounds, tea leaves, plants) and dry, brown matter (ie. dead leaves, dead plants and weeds, hay). Start creating your pile, layering green and brown material whenever possible.
- Empty your pail onto the pile (or bin) daily. This is a perfect task for kids, if you have them.
- Add water. If you have too much dry matter, lightly water the pile to help it decompose more quickly. Your pile should be damp, but not soaked. To help your compost retain more water, consider putting a lid on your bin (if possible).
- Add air. Turn the compost at least every couple of weeks with a pitchfork or shovel, and make sure your bin or pile allows air to enter. If air cannot reach the materials, your compost could become anaerobic, with a slimy appearance. If you’re using a tumbler, turning the compost literally means turning the handle so the material “tumbles” around.
- Harvest your finished compost. Over time, the material at the bottom of your pile (or bin) will start to become nice, rich soil. When you don’t see any more recognizable scraps, the compost is ready to be used.
- Harvest your compost 1-2x/year. Start from the bottom of your pile (or bin). Whatever isn’t ready just goes back into the pile to continue breaking down.
- Spread the love. Use your finished compost (soil) in your garden beds. Note: You may want to avoid bringing your fresh compost into the house since it could be home to many little critters.
what to compost.
This seems to be one of the more intimidating parts of composting for people. But, once you learn some general rules it’s really quite simple. Here are some ideas of what you can compost (this is not an exhaustive list):
- Produce trimmings (think onion skins, celery roots, apple cores, banana peels, potato peels)
- Coffee grounds
- Tea bags (make sure to take off staples or plastic tags)
- Grass clippings
- Dead leaves
- Plant trimmings + garden waste
- Straw
- Sawdust
- Pet or human hair
- Egg shells
- Paper towel/toilet paper rolls
- Paper bags
Note: Different organic materials take different lengths of time to break down. Food scraps are quicker than twigs or sticks. Paper from coffee filters or tea bags take longer than organic materials. The bottom of the pile or bin will transform first, so this is why it’s important to turn the pile every few weeks.
What NOT to compost:
- Meat or bones
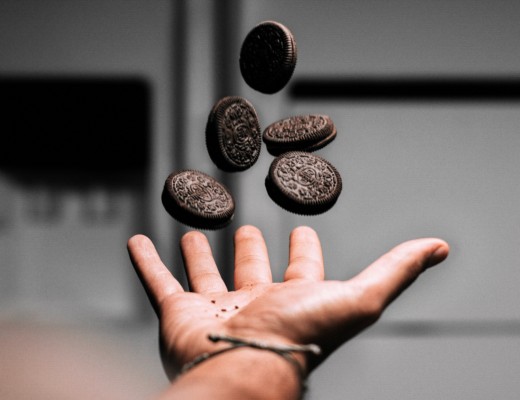
- Leftovers that aren’t primarily plant material (ie. highly processed foods)
- Tougher plant material from your garden like branches or stalks (these take too long to break down)
- Garden waste that has been treated with pesticides or chemical fertilizer
- Weed seeds and roots
- Diseased plant material
potential issues to watch for.
Note: These issues are most likely to occur in an open compost pile, rather than a tumbler.
- Smell. If your pile starts to stink, just give it a quick turn and add some grass clippings or leaves, if available.
- Insects. Keep a separate pile of grass clippings and toss one or two handfuls on top of whatever kitchen scraps are attracting bugs. Wash out your pail when it gets icky.
- Not Enough Space. Compost piles require about 9 square feet of space. This will be less if you choose a smaller space-saving bin. If you have limited space or no yard at all, opt for a tumbler, worm compost, or community composting program.
- Animals. Raccoons and rodents may be attracted to your pile, depending where you live. You can use an animal-resistant bin or turn your pile more regularly, as a hot pile isn’t as attractive to animals,
you will make plants happy.
Compost can act as a water-retaining mulch, a liquid fertilizer (called “compost tea”) and a lawn fertilizer:
- To use as a mulch, spread it in a 2- to 3-inch layer around flowers, bushes, trees and shrubs.
- To make liquid fertilizer, steep a shovel-full of compost in a 5-gallon bucket for two to three days. Then, pour the liquid on your plants.
- To fertilize your lawn, add a 1- to 3-inch layer of compost to the grass, then rake to evenly distribute it. Over time, rain water will push the compost into the soil, feeding your lawn in the process.
Photo by Markus Spiske on Unsplash


No Comments